

General Safety
Always do your research and be sure you are totally sure of the plant you harvest, cross referencing several reputable sources as you learn.
Growing
Depending on your situation and the nature of the plant, consider snipping flowers after they have been pollinated but before they go to seed. This will help local pollinators and minimize the spread of invasive type plants in your neighbourhood. You can tell if a plant has been pollinated as it can become droopy or limp looking and slowly change its form.
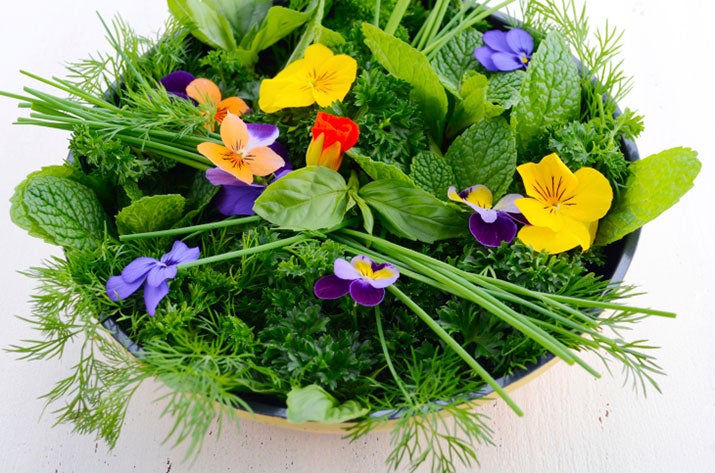
Harvesting
Carry a clean wicker basket, paper bag or bowl with you, to collect your harvest.
Young leaves are more tender than older leaves, and they are also less bitter.
Pick from plants that grow away from roadsides to avoid car fumes.
If you see bugs like leaf miner tracks, avoid that plant and those around it.
Always do your homework to ensure you are eating the correct plant, the correct plant part and at the correct time of year.
When you harvest roots, dig down deeply with a trowel to loosen the root from the soil. While pushing up with the bottom of the trowel, gently pull the plant up and away in a wiggly or rotating manner, holding the base of the stem/leaves right where it meets the earth or the top of the root if possible.
To harvest stems and leaves of plants that grow tall like Nettles and Lambsquarters, use sharp scissors to snip the top third of the plant or less. For those plants that grow in a clump or simply small plants like Violets, snip about a third or less of the leaves of the plant.
To harvest seeds that are ripe (usually dry and brownish), place a brown paper bag around the seed head and snip or shake, depending upon how easily the seeds come away from the plant.
When harvesting plants that can be an irritant, like Nettles, wear gloves. If you get stung, Rumex crispus and other docks, Spotted Jewelweed (Impatiens capensis) and Plantain (Plantago major) can be crushed and applied to neutralize or minimize the sting. The irritation should go after a few minutes or hours, depending on exposure and a person’s sensitivity.
Drying and Storing
Before you bring in something you have harvested, if you think it is likely that little bugs might be trapped, let the stems and leaves air outside in the shade - in your basket, bag or, even better, a sheet spread out, to allow any bugs to crawl or fly away.
Dry leaves by placing in a container that will allow air to circulate but keep the dust off. This can be as simple as tying string up between two points in your home, in an area that is dry and with good air circulation. Put the plant in large brown paper bags, fold over the top and hang with a clothes peg on the string. You can also use a dehydrator, using the setting low enough to not kill the live enzymes (118°F or lower). Or you can buy or make something that uses screens as shelves with a light covering over top the entire shelving unit– leaves on screen or in paper bags or in dehydrator. You could also keep them in your basket, lifting it up off the floor and covering it with a tea towel.
Do not put too many in one bag or overlap on a tray/shelf as that will impede air circulation and encourage mold.
Dry seeds and fruit the same way. If the fruit has a tough skin, you may wish to put it in the blender to make a puree or dry it in a dehydrator or oven.
Before you dry roots, give them a thorough rinsing with water. Thick roots can be sliced or chopped to get the air to them quicker.
Drying can take two to five weeks with air, and a few days or less with dehydrator. It depends on the plant, the plant part and the humidity in the air at the time.
Using
The “Suggested Uses” section of each plant explains the ways in which you can use the plant. Keep in mind that if making a tea with leaves, you only need to add just boiled water. Roots are tougher and need to be simmered on the stove for several minutes.
Learn More
- 0
- 1